Whoops, I've not updated for a while. I've been moving house! But maybe I'll post about that another time.
I've had a few requests for more makeup tutorials, some of which I'll be posting to the Playful Promises Blog, but one common request has been about how I do my ombre eyebrows.
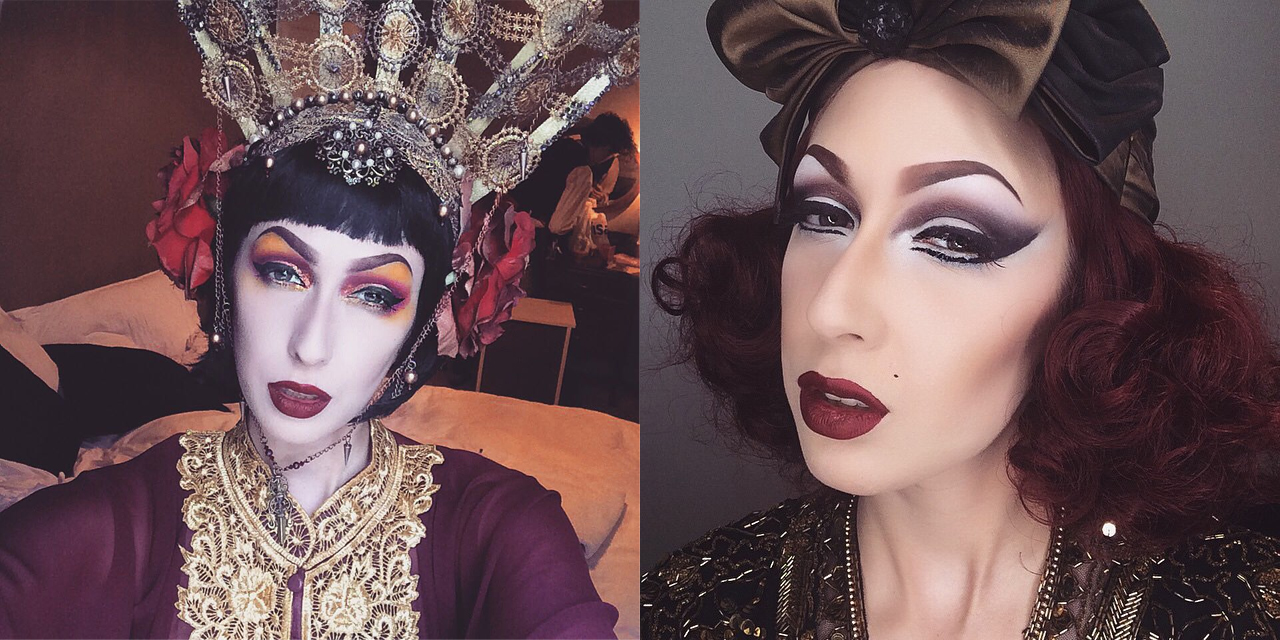
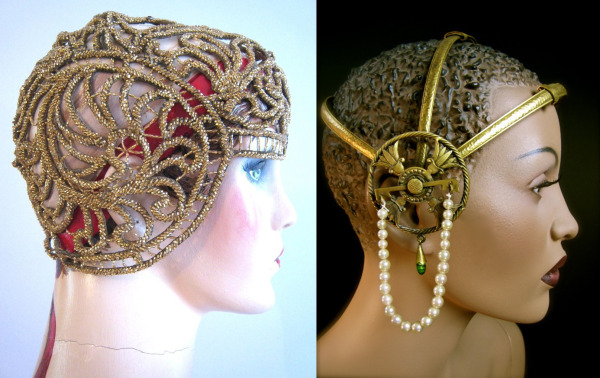
There are plenty of tutorials for those of you that do have natural eyebrows (I shaved mine off as a teenager and never bothered to grow them back), but this is mostly for those that don't, or people who cover and re-paint them.
The below could also work for filling in and shaping your natural eyebrow, but instead of drawing on your base shape in it's entirety for step 1, just reshape your eyebrow to the desired starting point using a pencil.
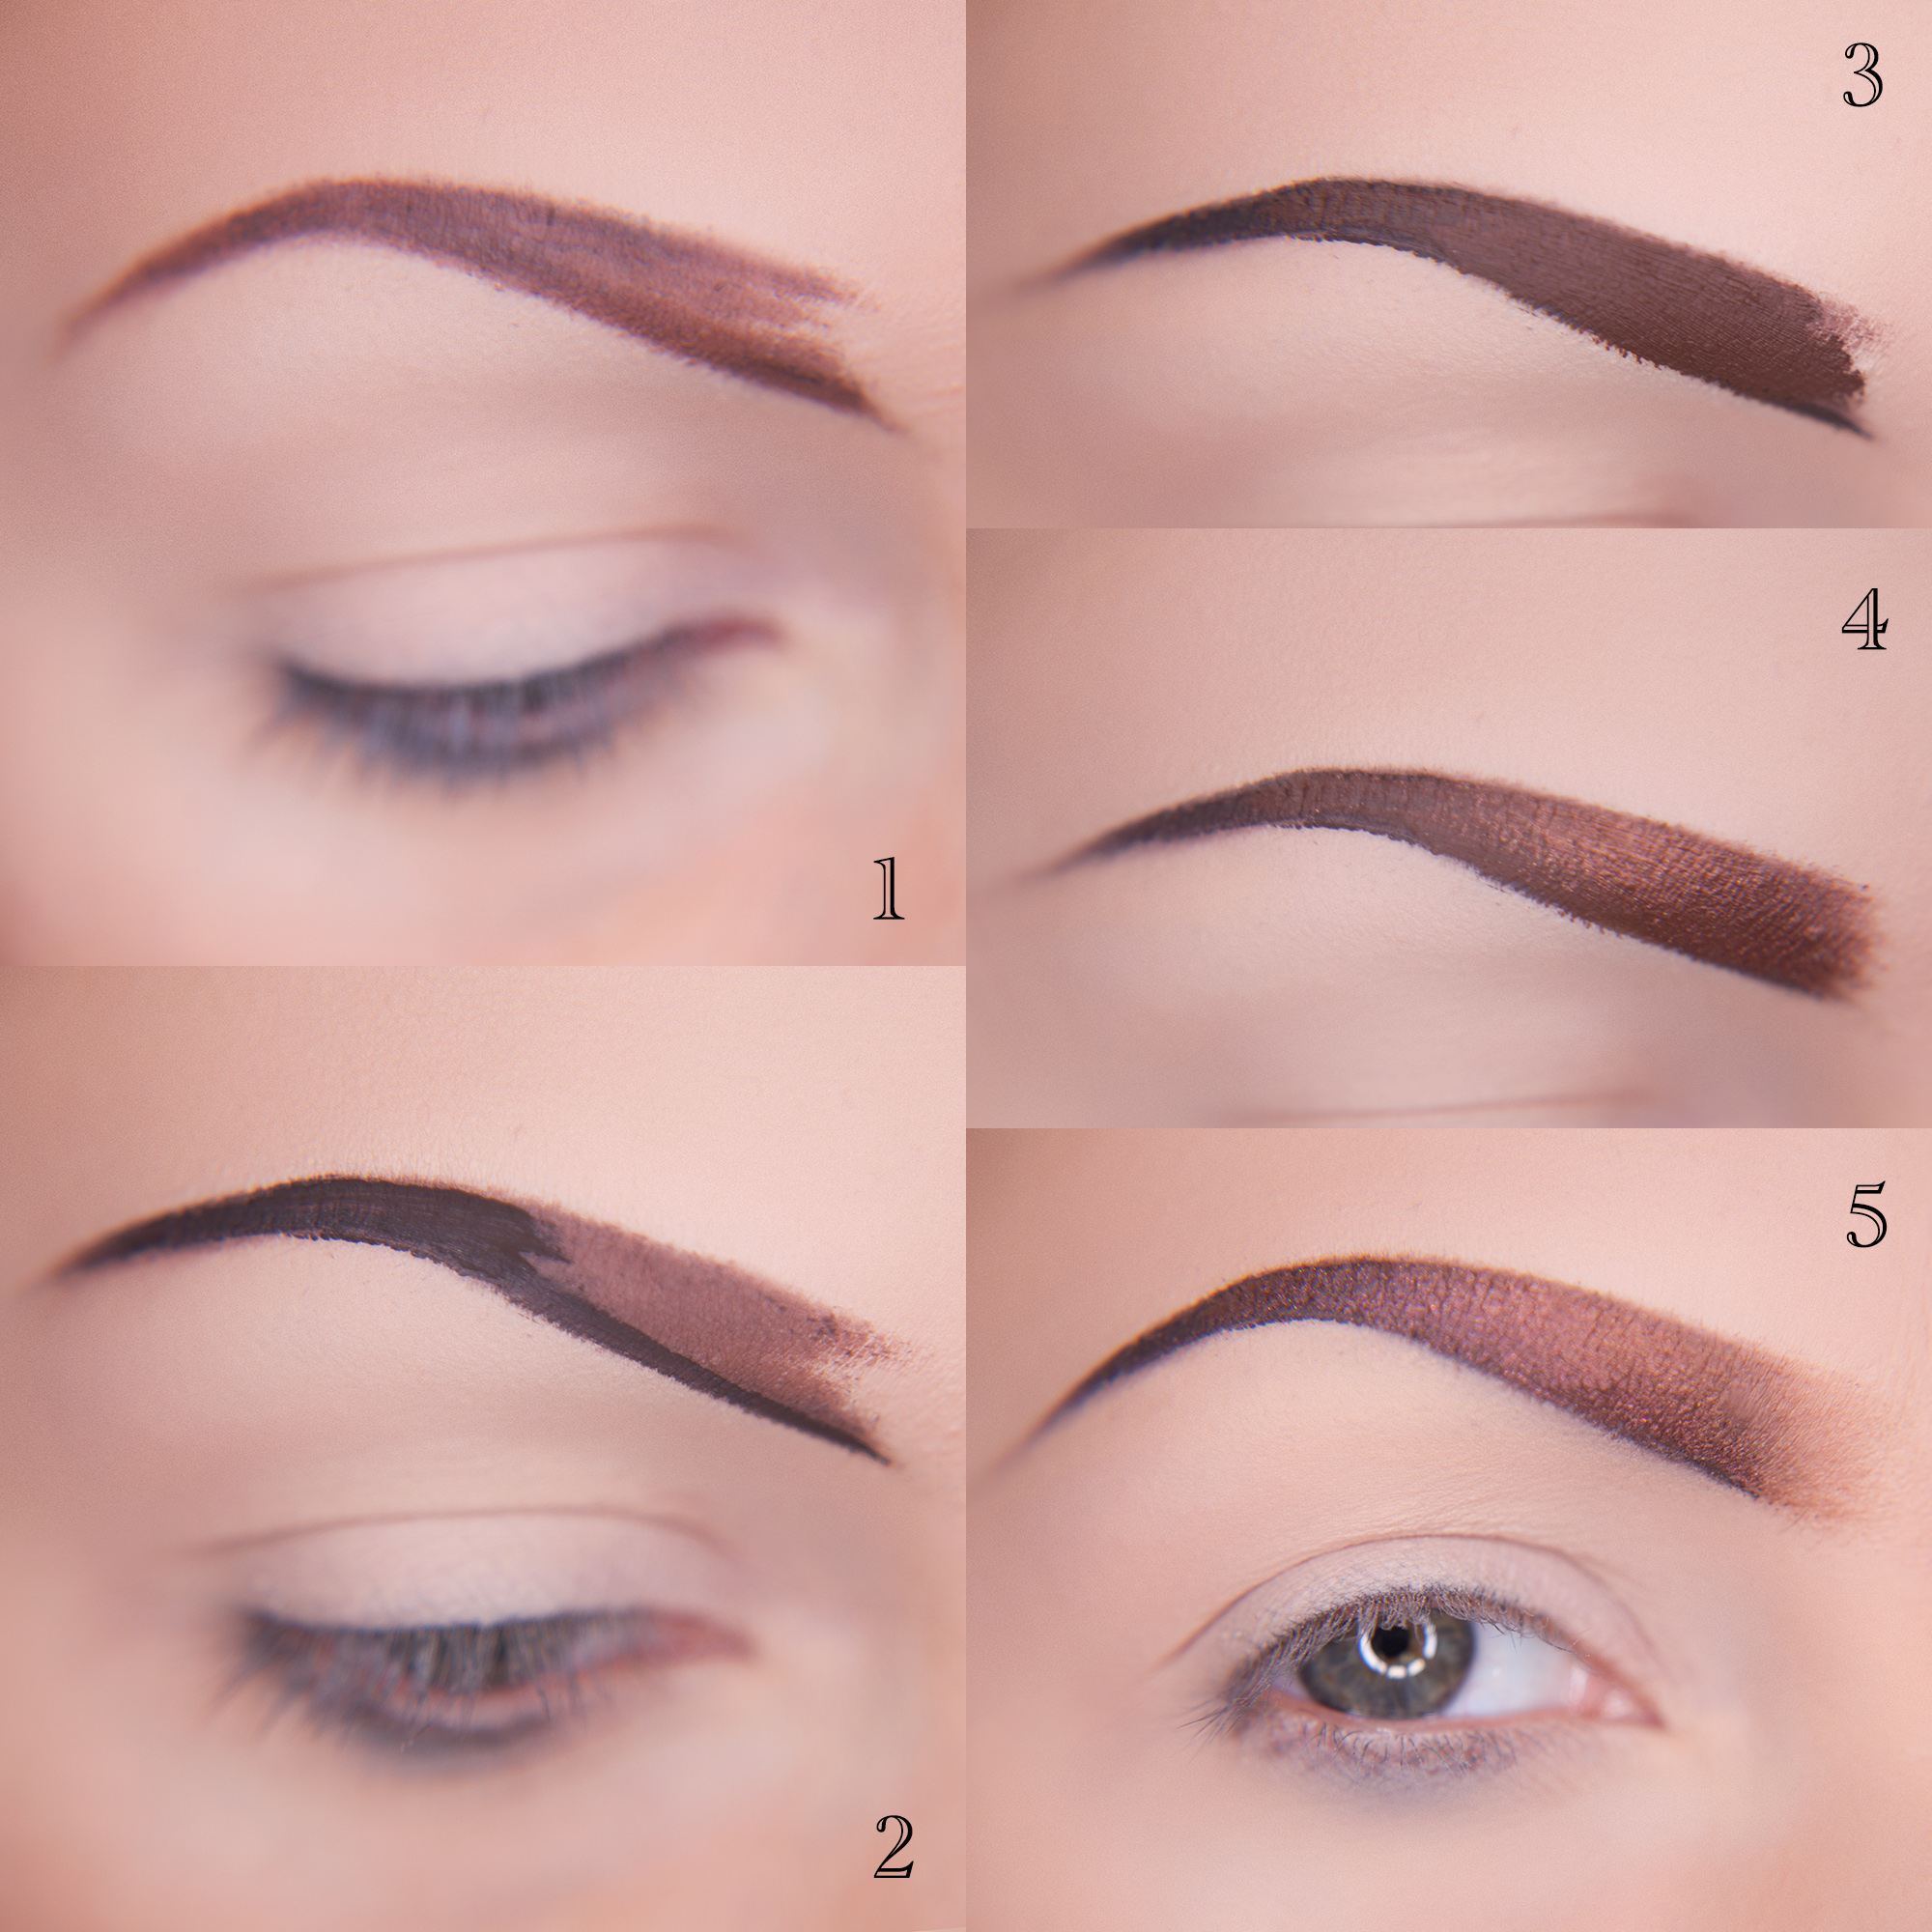
1. Starting from scratch, I put on all of my foundation first (and if I'm doing eye makeup I do this first - you could also accentuate your brow bone with a white or light eyeshadow), then mark out the basic eyebrow shape with a pencil. I use Rimmel Eyebrow Pencil in Dark Brown.
The highest point of your eyebrow should roughly line up with the outer corner of your eye - you can check this by laying the pencil vertically at the corner of your eye. If in doubt, make a mark where the pencil lines up and work from there. You can go as arched as you like; obviously I like my shape quite severe. The easiest way for me to get the right shape is to draw the first line from the inner end of the brow (nearest my nose) upwards, then to create a second joining line from the high point to about a centimeter above the first line. Don't take the inner eyebrow too close to your nose to start with.
2. Next I use the Collection Liquid Eyeliner in Brown to line the bottom edge and outer corner of the eyebrow, giving a strong defined shape. If this is at all messy, don't worry right now.
3. Using Illamasqua Precision Brow Gel in Glimpse and a thin brush (I don't use an angled brush as I don't find it any easier, but you may do) I fill in the majority of the brow, blending the colour slightly into the liquid eyeliner. Again, if it's messy, don't worry. At this point you can also add any extra shaping to the top of the eyebrow also. Don't take the colour too close to your nose, you'll need to leave about half a centimeter of space there.
4. Using a lighter brown pigment and the same (wipe it first!) or a similar brush, blend in from the inner corner of the eyebrow into the darker sections. Don't bring the inner eyebrow out yet. I just used an average cheap brand of eyeshadow for this, but I really need to get a good reddish-brown to match my hair!
5. Using an even lighter brown, and your same brush, blend the inner corner outwards. Make sure you keep your brush angled so you are sweeping in the same straight line as the rest of the eyebrow. You could just blend the pigment in step 4 outwards, but it'll be easier to create an ombre effect if you use a very light brown to blend.
Tidy up the eyebrow with something like the Pro Pencil from Anastasia Beverly Hills, which is also handy for lips and any other areas where you need to tidy up precision.
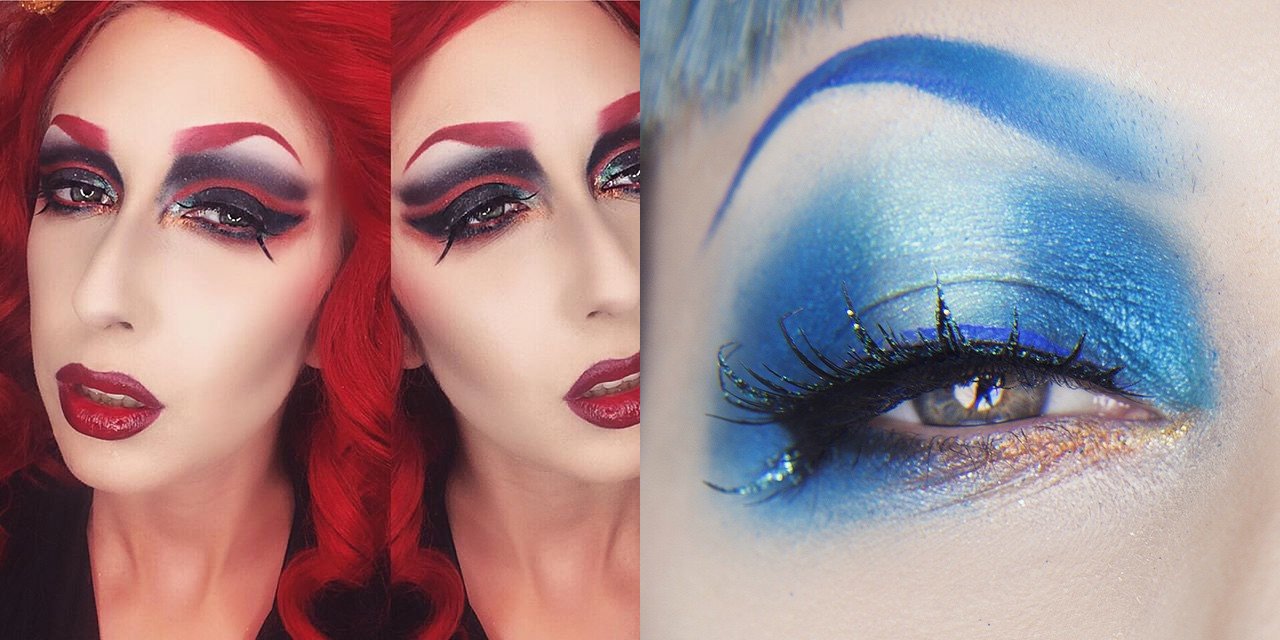
This tutorial can also be used by swapping in different colours, although as you are unlikely to find suitable colours of liquid eyeliner, you'll need to just work with pigments.