Makeup

Insomnia Cosmetics: Bluejay

A little while ago I received a package from Insomnia Cosmetics, an indie makeup brand made in Hawaii. 

These vegan and cruelty free cosmetics range from lipsticks to eyeliners to glitter, with some gorgeous rich colours to choose from.

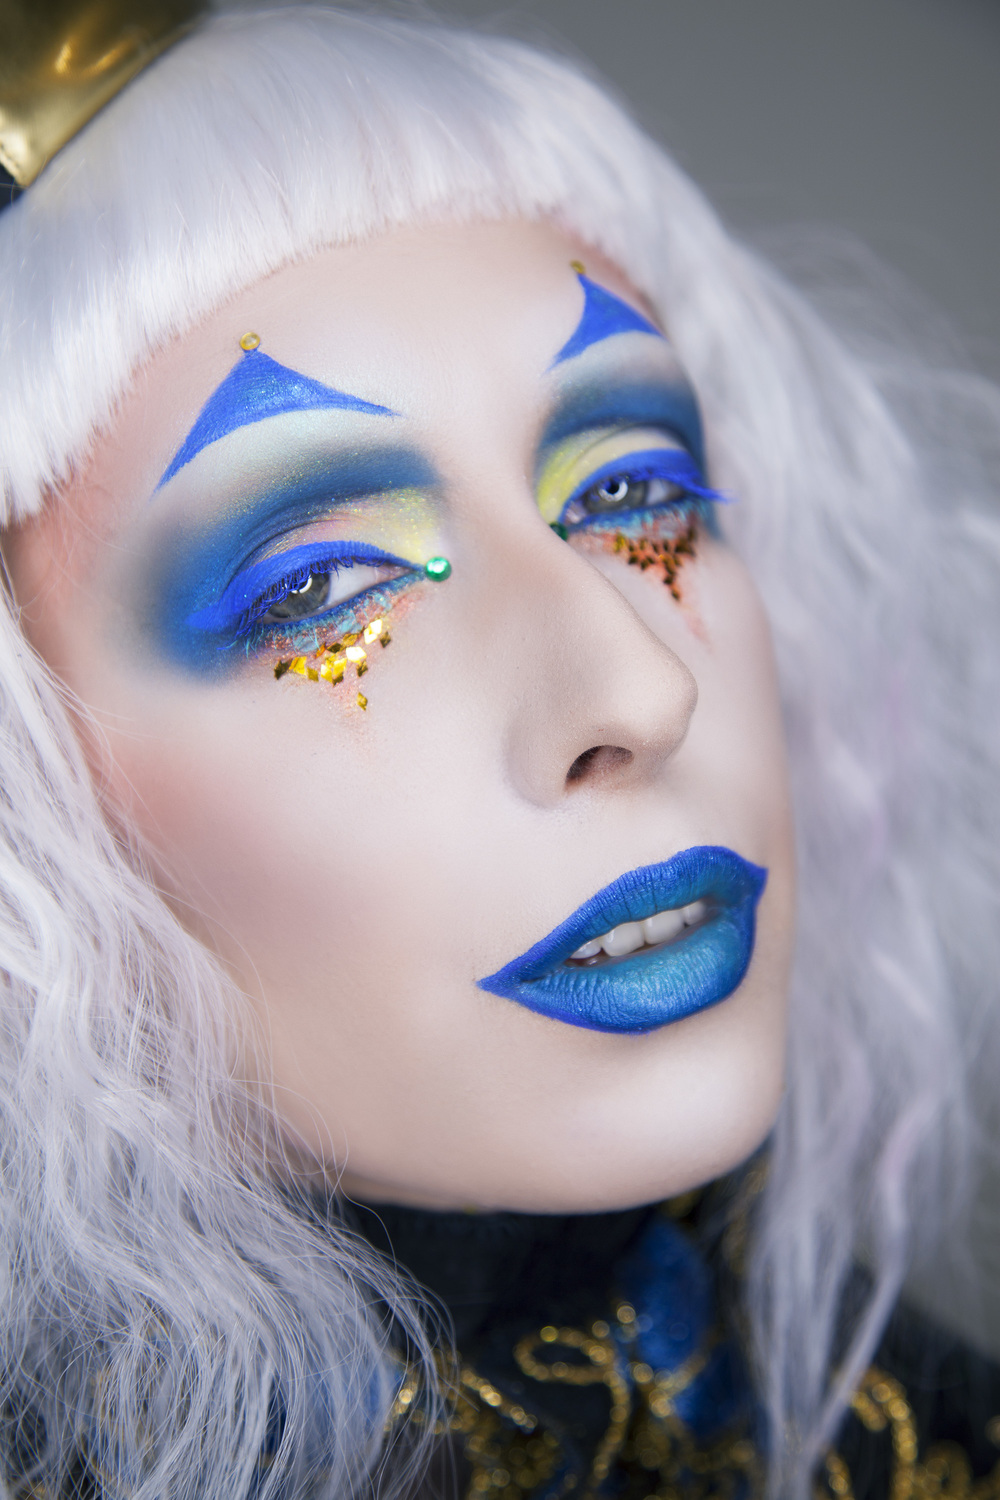
I received the Basic Bitch lipbalm (which I use almost every day), the Witch Hunt Lipstick (worn here), Minx Lipstick (worn here), Mauvelous Lipstick (worn here) and the Bluejay Liphaze and Insomnia Birthday Glitter, which are featured in this post.

_1.jpg

The Bluejay Lip Haze, seen on it's own above, is a pastel blue liquid lipstick. Personally I wouldn't normally wear the colour on it's own without lining my lips (see below), but I wanted to see how it would hold up. 

For light coloured lips like this, there's always a chance that it'll either merge too closely with skin, or look too washed out, but this colour really popped. It applies like a liquid lipstick, and I used the wand that comes with the product to apply. It is incredibly smooth, easy to use, and it only needed one coat (some other liquid lipsticks require a few). It didn't dry completely matte immediately, but that worked well because it allowed me to blend the darker liner in afterwards. Once it had dried, it didn't budge.

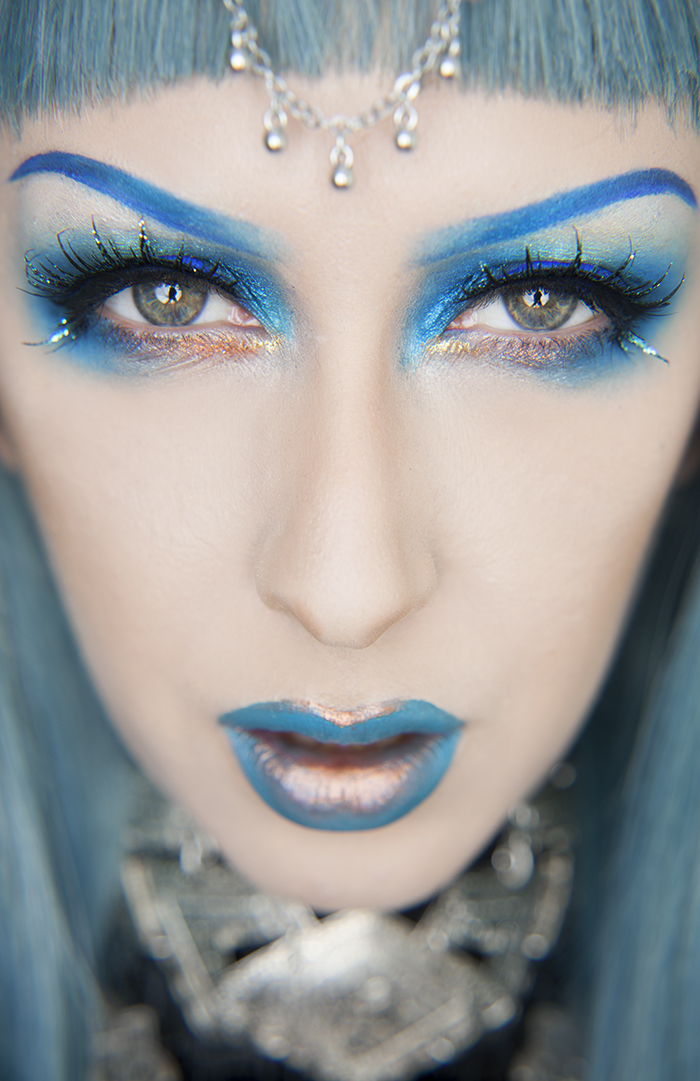
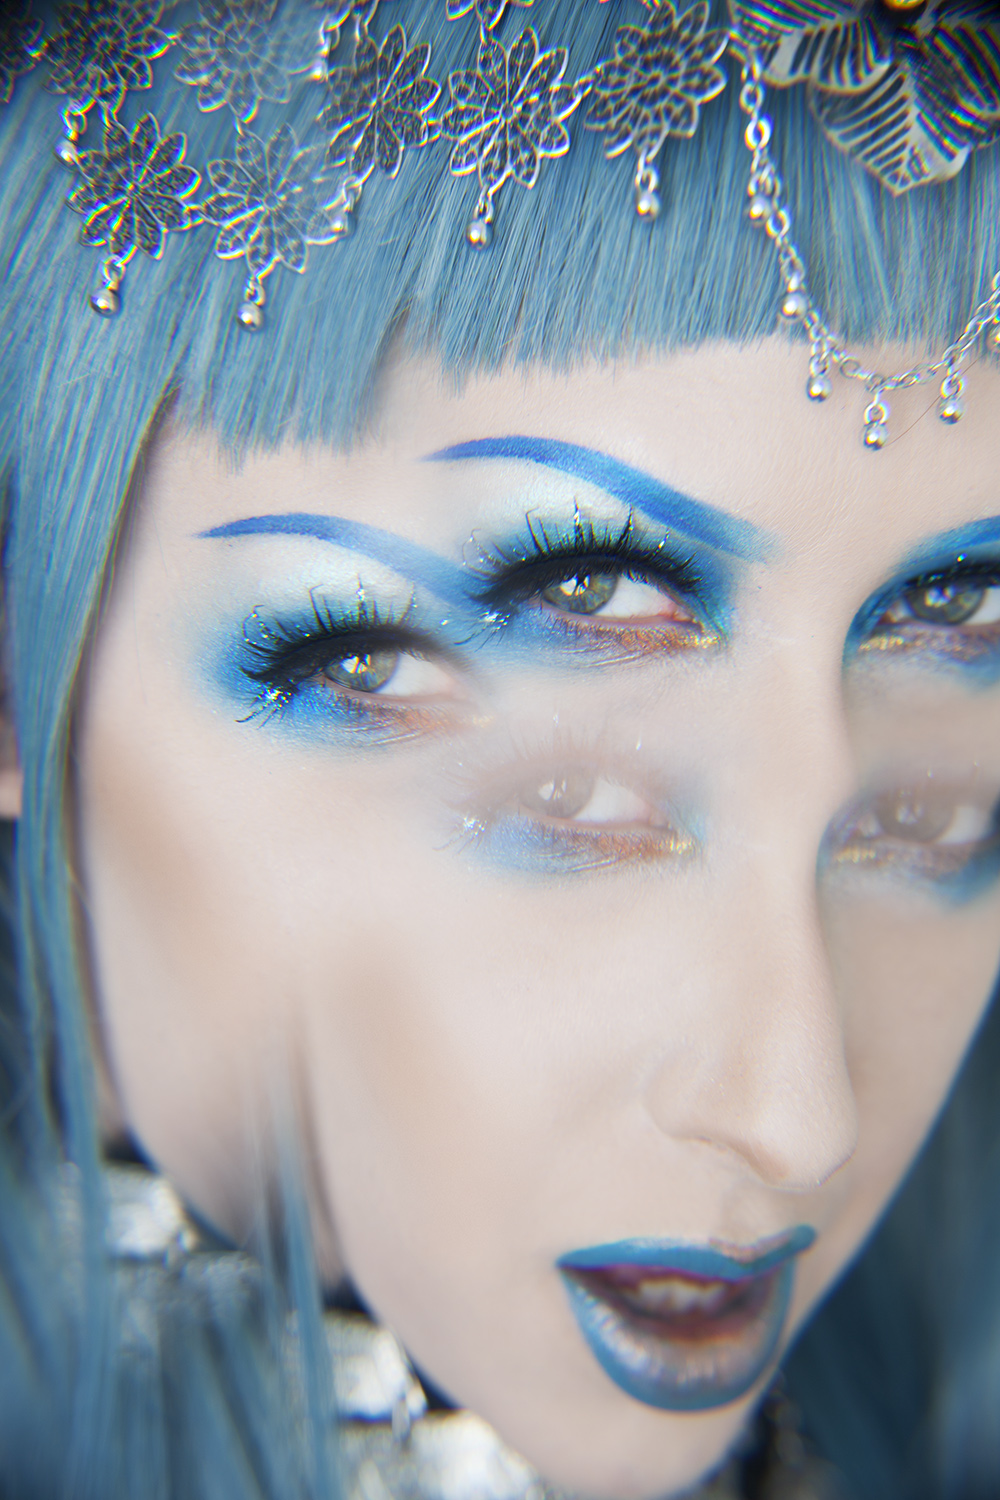
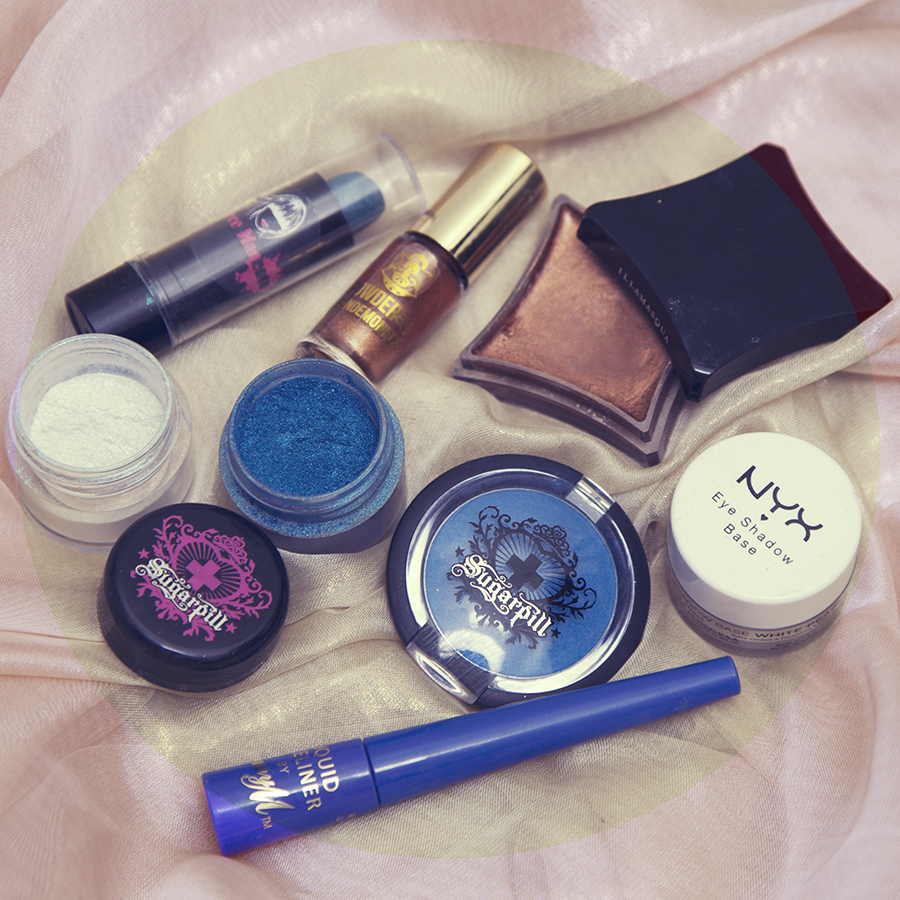
I used a dark blue liner (I used Sunrise Blue liner from NYX Cosmetics) and a tiny touch of Tako pigment from Sugarpill, then used the Insomnia Birthday Glitter for the lower lip.

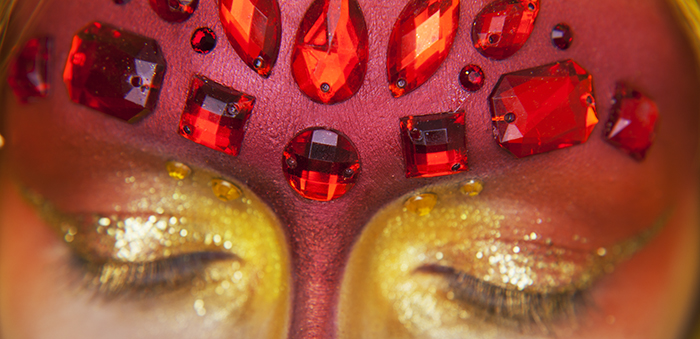
The glitter is a midnight blue with flashes of copper, which you can see above! I particularly love the art deco-esque jar for the glitter.

_2.jpg

And finally what it looks like with gloss!

Definitely check out Insomnia Cosmetics on etsy, I've got my eyes on some of the grey-toned lipsticks!

Tutorial: Eyebrows

Whoops, I've not updated for a while. I've been moving house! But maybe I'll post about that another time.

I've had a few requests for more makeup tutorials, some of which I'll be posting to the Playful Promises Blog, but one common request has been about how I do my ombre eyebrows.

There are plenty of tutorials for those of you that do have natural eyebrows (I shaved mine off as a teenager and never bothered to grow them back), but this is mostly for those that don't, or people who cover and re-paint them.

The below could also work for filling in and shaping your natural eyebrow, but instead of drawing on your base shape in it's entirety for step 1, just reshape your eyebrow to the desired starting point using a pencil.

1. Starting from scratch, I put on all of my foundation first (and if I'm doing eye makeup I do this first - you could also accentuate your brow bone with a white or light eyeshadow), then mark out the basic eyebrow shape with a pencil. I use Rimmel Eyebrow Pencil in Dark Brown.

The highest point of your eyebrow should roughly line up with the outer corner of your eye - you can check this by laying the pencil vertically at the corner of your eye. If in doubt, make a mark where the pencil lines up and work from there. You can go as arched as you like; obviously I like my shape quite severe. The easiest way for me to get the right shape is to draw the first line from the inner end of the brow (nearest my nose) upwards, then to create a second joining line from the high point to about a centimeter above the first line. Don't take the inner eyebrow too close to your nose to start with.

2. Next I use the Collection Liquid Eyeliner in Brown to line the bottom edge and outer corner of the eyebrow, giving a strong defined shape. If this is at all messy, don't worry right now. 

3. Using Illamasqua Precision Brow Gel in Glimpse and a thin brush (I don't use an angled brush as I don't find it any easier, but you may do) I fill in the majority of the brow, blending the colour slightly into the liquid eyeliner. Again, if it's messy, don't worry. At this point you can also add any extra shaping to the top of the eyebrow also. Don't take the colour too close to your nose, you'll need to leave about half a centimeter of space there.

4. Using a lighter brown pigment and the same (wipe it first!) or a similar brush, blend in from the inner corner of the eyebrow into the darker sections. Don't bring the inner eyebrow out yet. I just used an average cheap brand of eyeshadow for this, but I really need to get a good reddish-brown to match my hair!

5. Using an even lighter brown, and your same brush, blend the inner corner outwards. Make sure you keep your brush angled so you are sweeping in the same straight line as the rest of the eyebrow. You could just blend the pigment in step 4 outwards, but it'll be easier to create an ombre effect if you use a very light brown to blend.

Tidy up the eyebrow with something like the Pro Pencil from Anastasia Beverly Hills, which is also handy for lips and any other areas where you need to tidy up precision. 

This tutorial can also be used by swapping in different colours, although as you are unlikely to find suitable colours of liquid eyeliner, you'll need to just work with pigments.

Tears of a clown


Last night I put together a clown look to DJ at The Aeronaut, and I managed to snap a few quick photos on my camera before I left! This is the first time I've used my ringlight with my proper camera (rather than my phone!) and I love the way it lights makeup.


For the eyes I decided to do a slightly different shaped cut-crease and clashing colours.

For the crease I used Sugarpill's bulletproof, holy ghost, afterparty, clickbait and tako & lumi for the brow bone. Hi-Viz was used in the inner section of the eye to highlight. 

I lined my bottom lid with NYX Sunrise Blue liner, and used NYX mint julep color mascara on the bottom lashes. Underneath that I used Sugarpill's Penelope and some cheap diamond shaped glitter.

I then lined my top lid with Barry M's blue liquid eyeliner (which I also used for the shapes above my eyebrows) and blue color mascara from NYX. I also used some of Sugarpill's Charmy around the edge of my face along with my usual contour. Finished off with a few diamantes!

The lipstick is a blue from etsy seller FierceMagenta and NYX Pistachio Macaron lipstick.


Ice Blue Eyes

Another makeup post, this time focusing on eyes!

I bought some beautiful new lashes from House of Lashes, which are coated in blue glitter, so I themed this look around that.


On the eyes I started with Nyx Cosmetics eyeshadow base, then used Sugarpill's Afterparty, Starling (or you could use Royal Sugar) and Lumi on the centre of the lid. I lined my top lid with Barry M's Blue liquid liner.

On the lower lash line I used Powder and Pandemonium's liquid pigment in Fancy and Nyx Cosmetics Liquid Crystal Liner in Gold. 

For the lips I used teal lipstick from FierceMagenta on etsy and Illamasqua Liquid Metal in Enrapture.